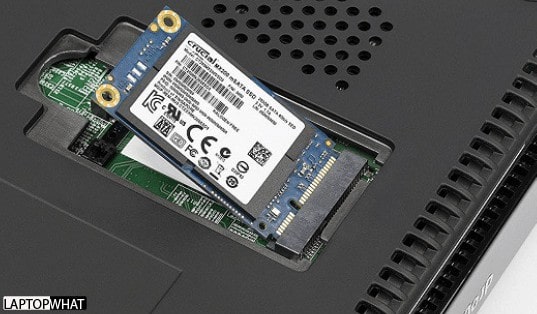
SSD is easy to install just like HDD because both possess the same type of connectors for Power and SATA.
If you wanna install SSD in laptop without reinstalling windows then the process is quite simple but you need the following.
- SSD
- Screwdriver
- Caddy - needed only if you want to extend your storage with SSD
#1. How to install SSD in a laptop by replacing HDD without reinstalling windows
The below steps are for those who want to remove or replace their HDD with SSD. however, if you want to install an SSD alongside HDD then you need a Caddy (tray) for your SSD to install it by removing your DVD drive.
- Shut down your laptop and unplug it from the power source and remove the battery (not recommended).
- Remove the Bottom panel of your laptop by removing some screws with the help of a screwdriver.
- Find your hard drive, it will be in the metal bracket and connected to the motherboard with a SATA and Power cable, and disconnect it by removing the screws.
- Remove carefully and slowly your Hard drive from your laptop.
- Now install the SSD in the place of the hard drive you removed before, tight it with screws.
- Replace the bottom plate of the laptop and screw it back into place
- Turn on your laptop and boot into the BIOS (usually press F2, F10, or Del when the computer logo appeared.
- Find the "Boot Order" or "Boot Priority" section of the BIOS and change the Primary Boot Device to SSD
- Save changes and exit BIOS
- Your laptop should now boot from the SSD.
- If you find an error "boot device not found" then you have to install an operating system in SSD before starting into Windows.
#2. How to install SSD alongside HDD in a laptop without reinstalling windows
If you want to install SSD and not remove your HDD then you want to remove your DVD drive and then install your SSD Caddy.
- Make sure you power off your laptop first
- Remove the DVD Drive screws from below
- Remove the tray from the optical drive using a small pin and insert it into a small hole found in front of the optical drive.
- After removing the optical drive from the laptop, remove the side cover of the optical drive by pushing the clip. Later we will use the side cover on the SSD Caddy.
- Carefully insert the SSD into the Caddy
- Tighten all screws on each side to secure the SSD inside the Caddy.
- Remove the screw cage from the optical drive and transfer it to the SSD Caddy
- Install the optical drive side cover we removed earlier into your SSD Caddy.
- Carefully insert the SSD Caddy back into your laptop. Make sure to insert it in the correct available position.
- Now fix the optical drive with screws at the laptop bottom.
- Now power ON your laptop and your laptop storage is successfully increased.
My ending points
In my view, people Install SSD In laptop without reinstalling windows alongside Hard drives to increase their laptop storage and to improve their laptop speed.
but if you want to increase your laptop speed then you must install the Operating System in your SSD, and this is the whole point of installing SSD on your laptop
Tags:
Information

